Before you begin using ePayPolicy, here are a few helpful things to know:
Take a moment and join the ePayPolicy Users Group to stay up to date on all things ePayPolicy.
ePayPolicy is a web-based application that works in most web browsers, both mobile and desktop.
We have a number of informational resources available to help you, like our help center and demo videos.
Our support team is just a chat or call away (844-372-9300) and is happy to help.
Set Up Your Account
After signing up for ePayPolicy you’ll receive an activation email with instructions to create a password for your dashboard. Click the link in the email to create your password and access your dashboard.
Add a Logo to Your Page
Having an agency-branded payment page ensures your customers easily recognize the ePayPolicy payment portal as yours and helps keep your company looking professional.
To brand your payment page with a logo, follow these steps:
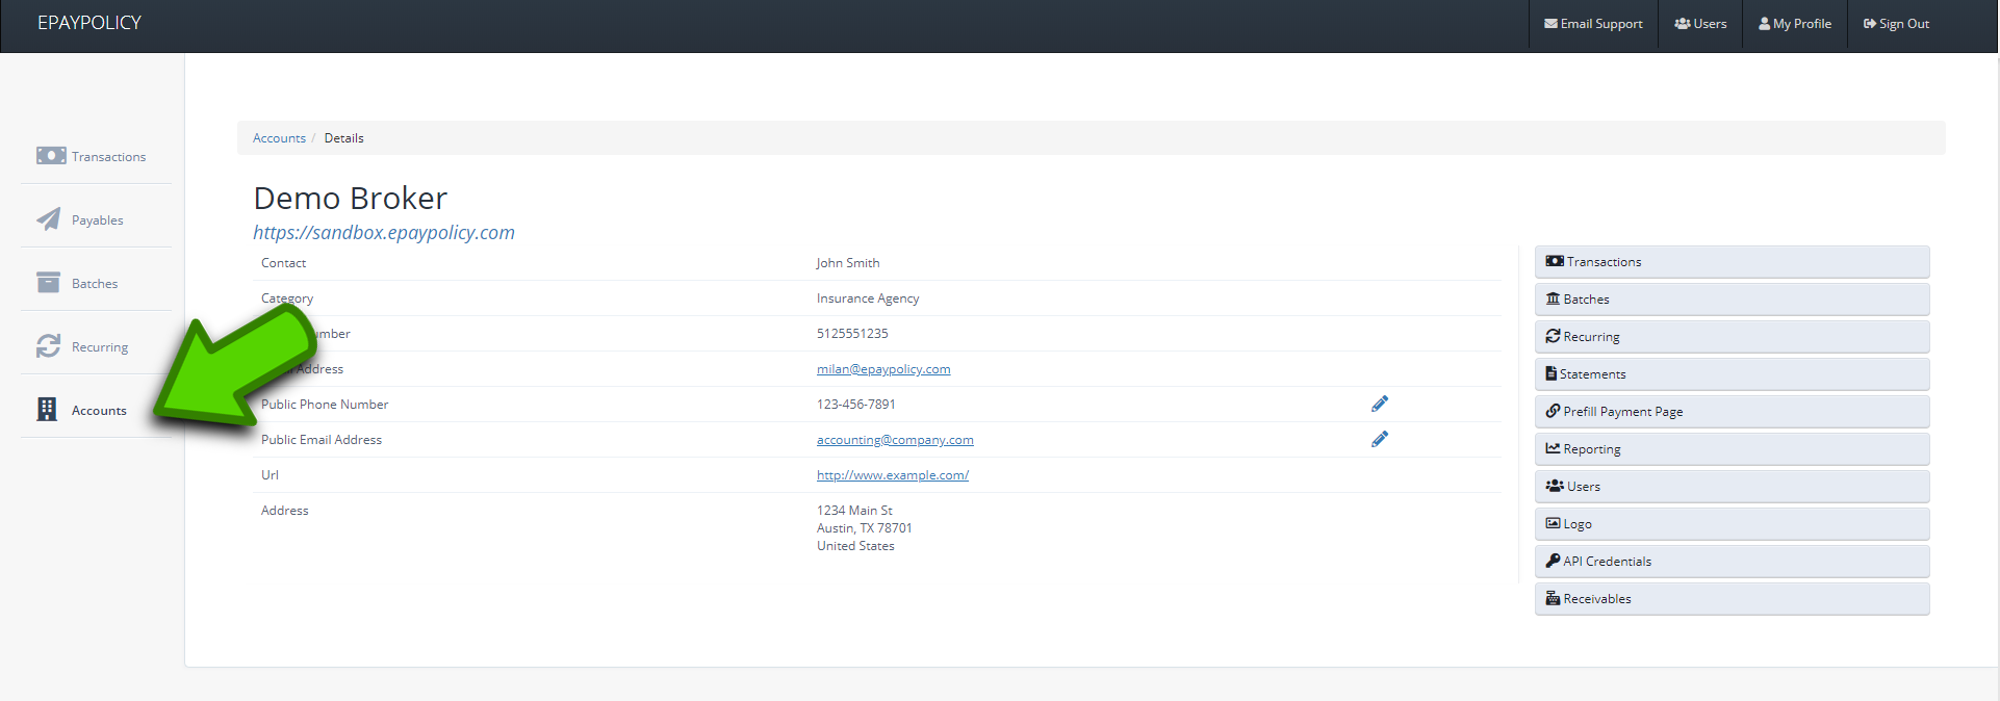
1. Inside your dashboard, navigate to the Account menu
2. Click the Logo tab
3. Choose your logo file
4. Click Upload
Your logo will appear on your ePayPolicy payment page and e-receipts.
Promote Your Service and Add a PayNow Button
Access our client toolkit that contains content to share that will let your clients know they can now make digital payments.
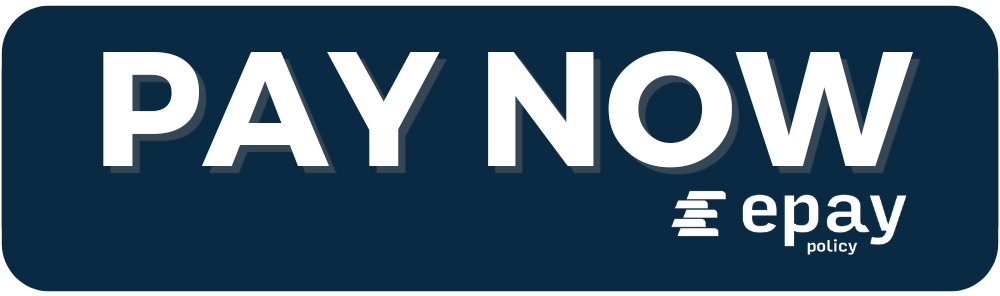
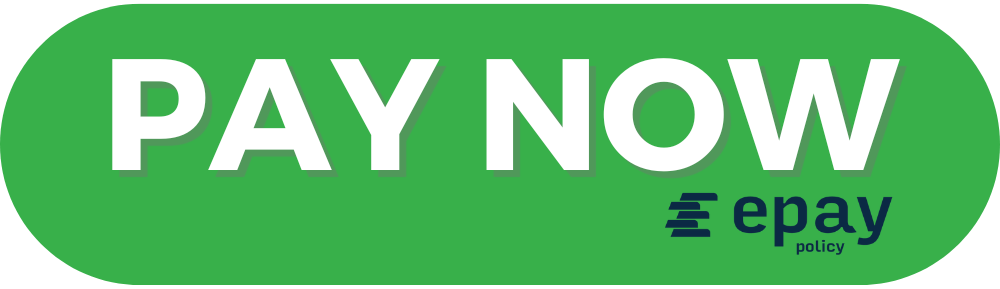
You can also download one of the nine PayNow button options we have available below:
Have your web designer add it to your page in minutes and attach it to invoices to remind clients that they no longer have to send in paper checks.
As an additional reminder, you can include it in your email signature! When you send your clients a notice that a payment is due, they can simply click the button at the bottom and make a payment in less than a minute. You can usually do this in the Settings section of your email account.
Add Users to Your Account
Your agents can easily share your payment page to collect a payment, but anyone who needs to reconcile funds or administer your ePayPolicy account, like accountants or controllers, must be added as a user to access the dashboard.
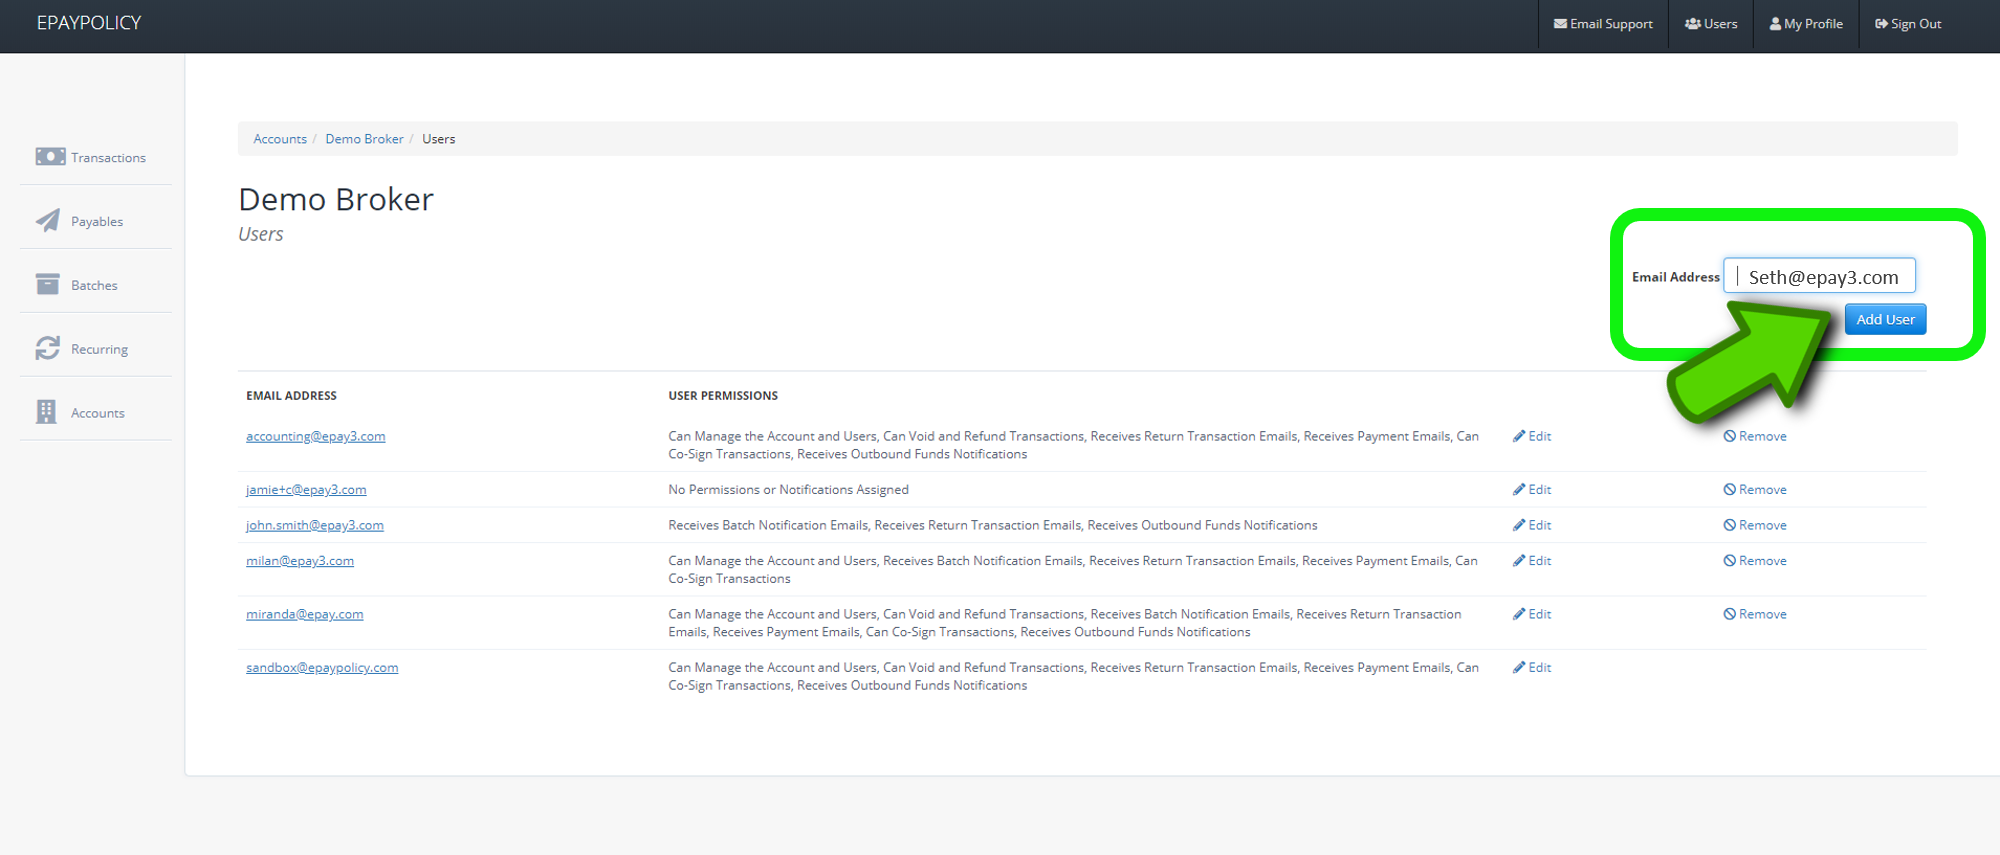
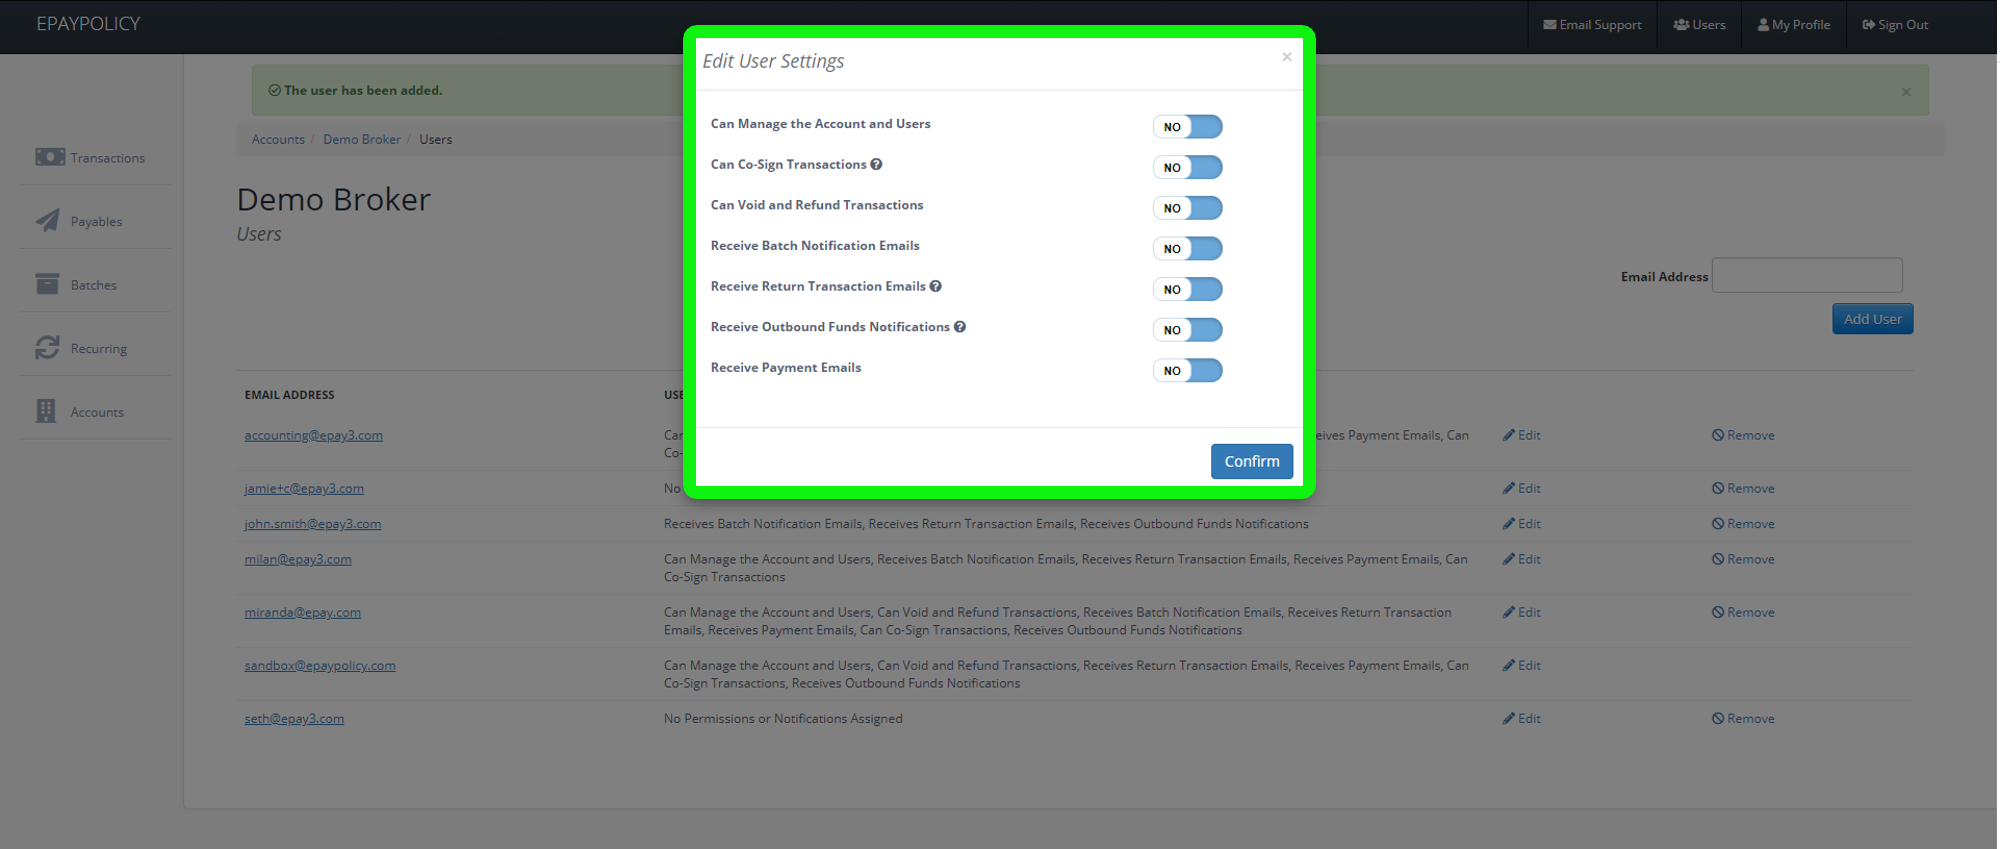
To add users to your ePayPolicy account, follow these steps:
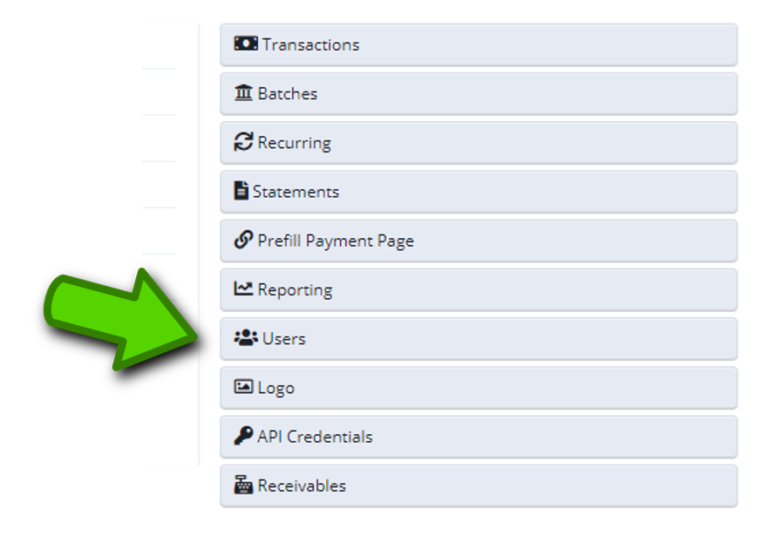
1. Inside your dashboard, navigate to the Account menu
2. Click the Users tab
3. Enter the person’s email address and click Add User
4. Set Permissions for the new user by clicking the Yes/No toggles
Collect Your First Payment
Now, the fun part. To collect a payment, simply share your unique payment page link with customers. Your payment page is optimized for easy sharing. To share your page we recommend the following:
Add your payment page link to your invoice templates and statements
Email or text the link to your customers
Install a PayNow button on your homepage and link it to your payment page
Download your agency-branded flyer which includes the link to your payment page and distribute the flyer to your client base. Your unique flyer can be found in the Logo area in the dashboard.
When a payment is sent, all parties receive an e-receipt via email and the transaction details are sent to your dashboard in real time.